Part 4: Working with your model
The dashboard, model details and tabs, editing, version history, the Investment Model upgrade, and Xero actuals.
The models dashboard
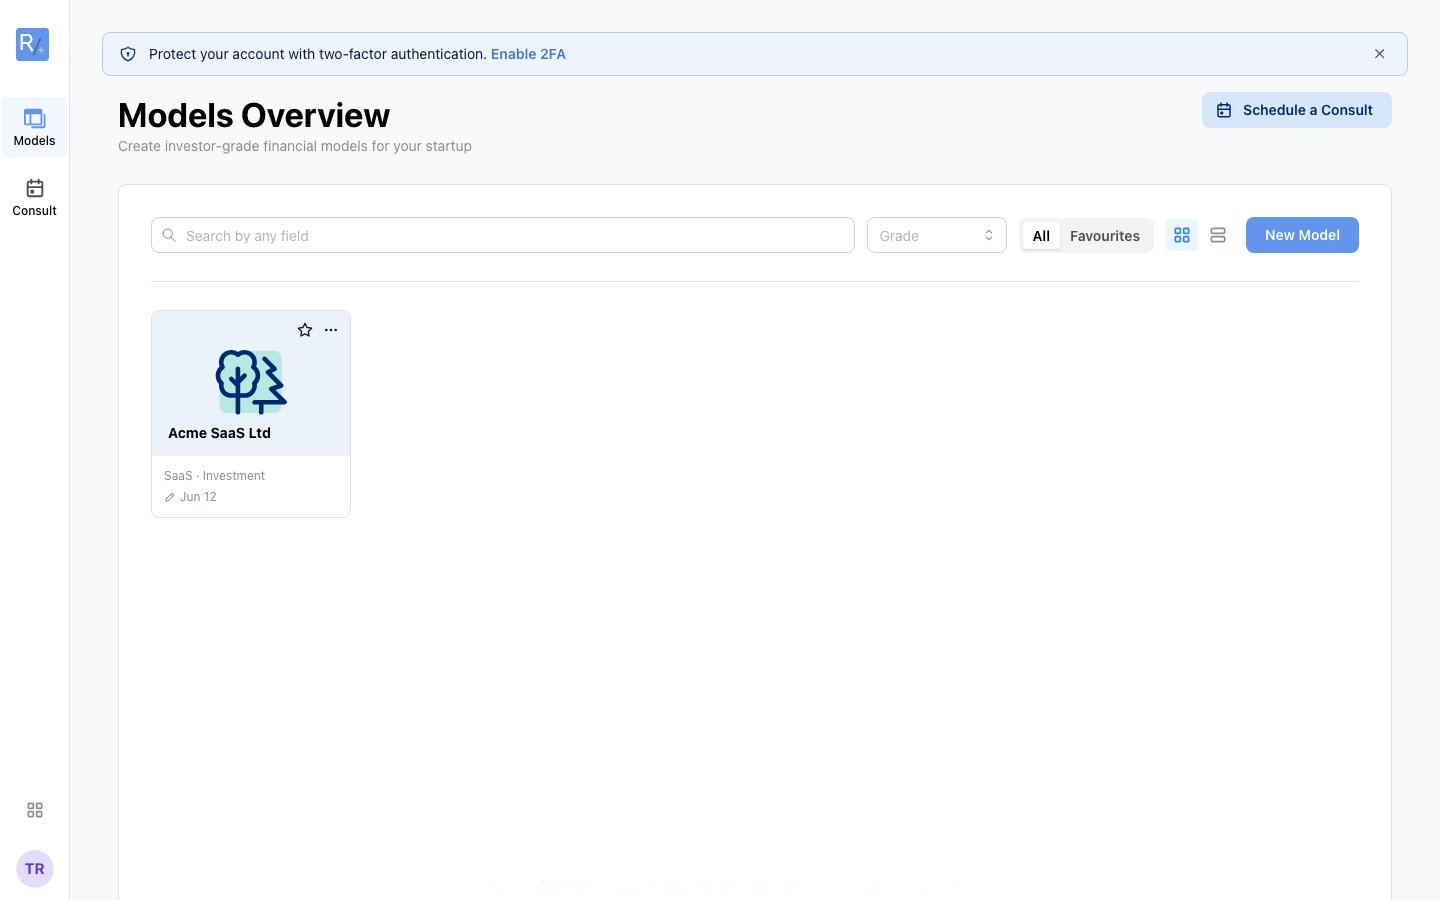 Figure 12: The Models Overview with a model card — search, filter by grade, and toggle favourites.
The Models Overview is your home base. Each model card shows its name, business type, tier (Planning or Investment), and when it was last updated. Use the search box, the grade filter, and the All / Favourites toggle to find models quickly, and the star icon to favourite the ones you use most. The Schedule a Consult button in the header books a 30-minute session with a CPA whenever you want expert eyes on your numbers.
Tip: You can create as many models as you like — for different scenarios, business units, or time periods. Give them descriptive names like "Series A — Conservative" so the right one is always easy to find.
Viewing model details
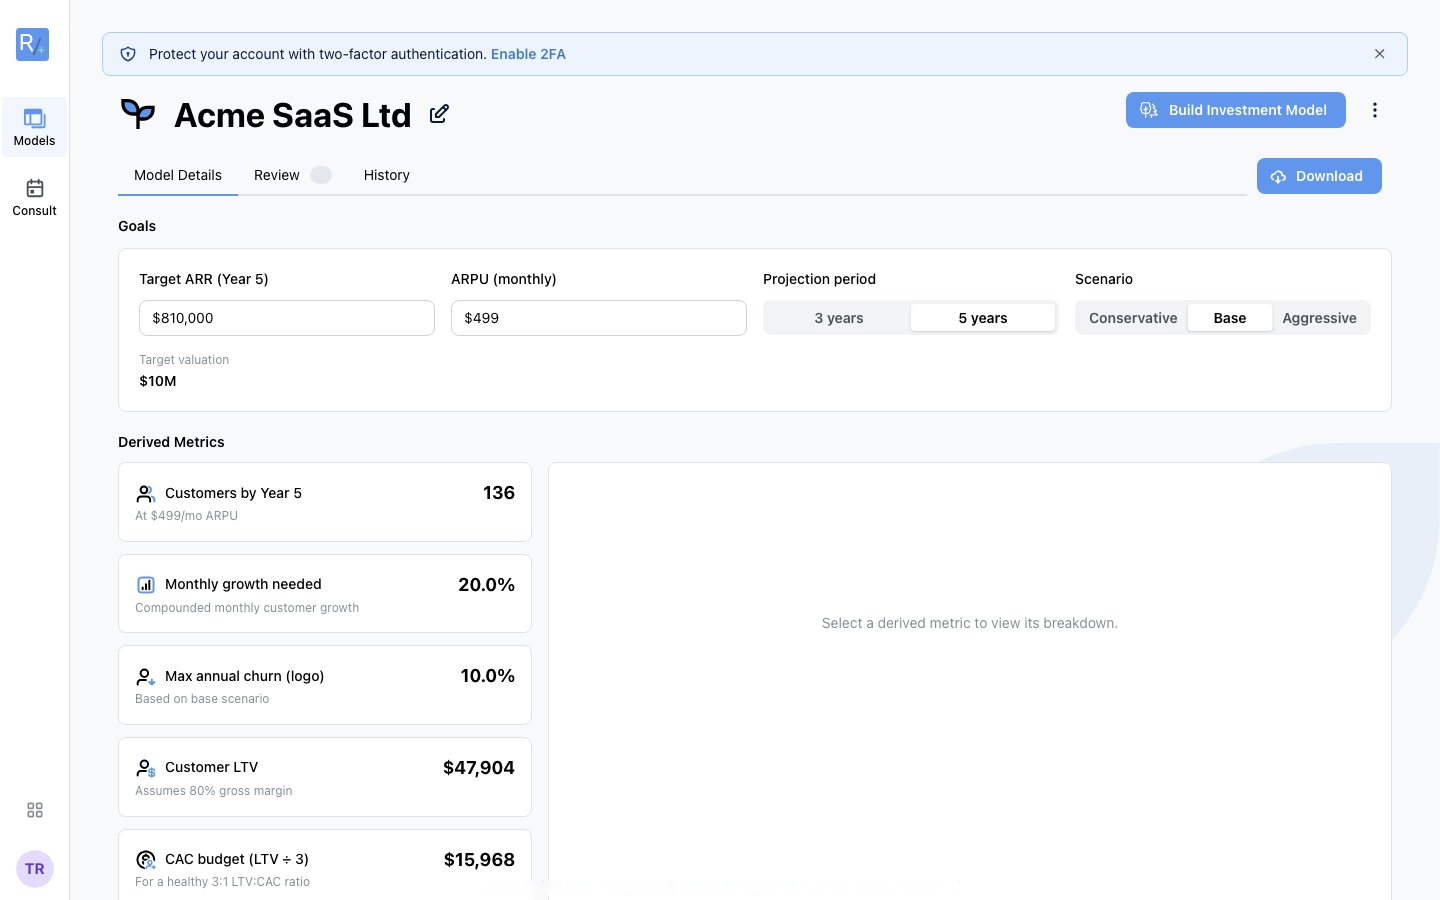 Figure 13: A Planning Model's page: editable goals, derived metric cards, and the Build Investment Model button.
Click any model card to open its page. The header shows the model name (click the pencil icon to rename), with key actions on the right. Tabs organise the views:
| Tab | What's there | Availability |
|---|---|---|
| Model Details / Assumptions | Your inputs, organised by section, with edit access | All models (named Assumptions on Investment Models) |
| Review | Sanity Report: Health Score, flagged issues, formula explorer | All models |
| Model | In-browser spreadsheet view of the full model | Investment Models |
| Actuals | Xero connection, account mapping, forecast vs actual | Rolling out; may show as coming soon |
| Q&A Prep | Anticipated investor questions with suggested answers | Investment Models |
| Investor Memo | Thesis, assumptions, unit economics, use of funds, milestones, downside | Investment Models |
| Rehearsal | Practise defending your numbers; graded fluency score | Investment Models |
| History | Version timeline of every change | Investment Models |
Planning Models also show an Investor Readiness card summarising critical issues, warnings, and what you've already addressed — with a "View full review" shortcut to the Review tab. The three-dot menu holds Redo Questionnaire (Planning Models) and Delete Model; the Download button exports your files (covered in Part 6).
Editing your model
Your model isn't set in stone. There are two ways to make changes:
- Edit a section: on the Model Details / Assumptions tab, open the section you want, change the values, and save. Targeted and quick.
- Redo the questionnaire (Planning Models): from the three-dot menu, re-enter the full wizard with all your current values pre-populated — useful when many sections need rethinking.
When you save, your changes apply immediately: the model recalculates every dependent formula automatically, a new version is recorded in History, and all outputs (Excel, Sanity Report, and so on) reflect the change. You can't change a model's business type or downgrade an Investment Model to Planning — create a fresh model for those cases.
Tip: Exploring a "what if"? Make the change, review the results, and if you don't like them, restore the previous version from the History tab. For major alternative scenarios, consider a separate model so your main one stays clean.
Model versioning & history
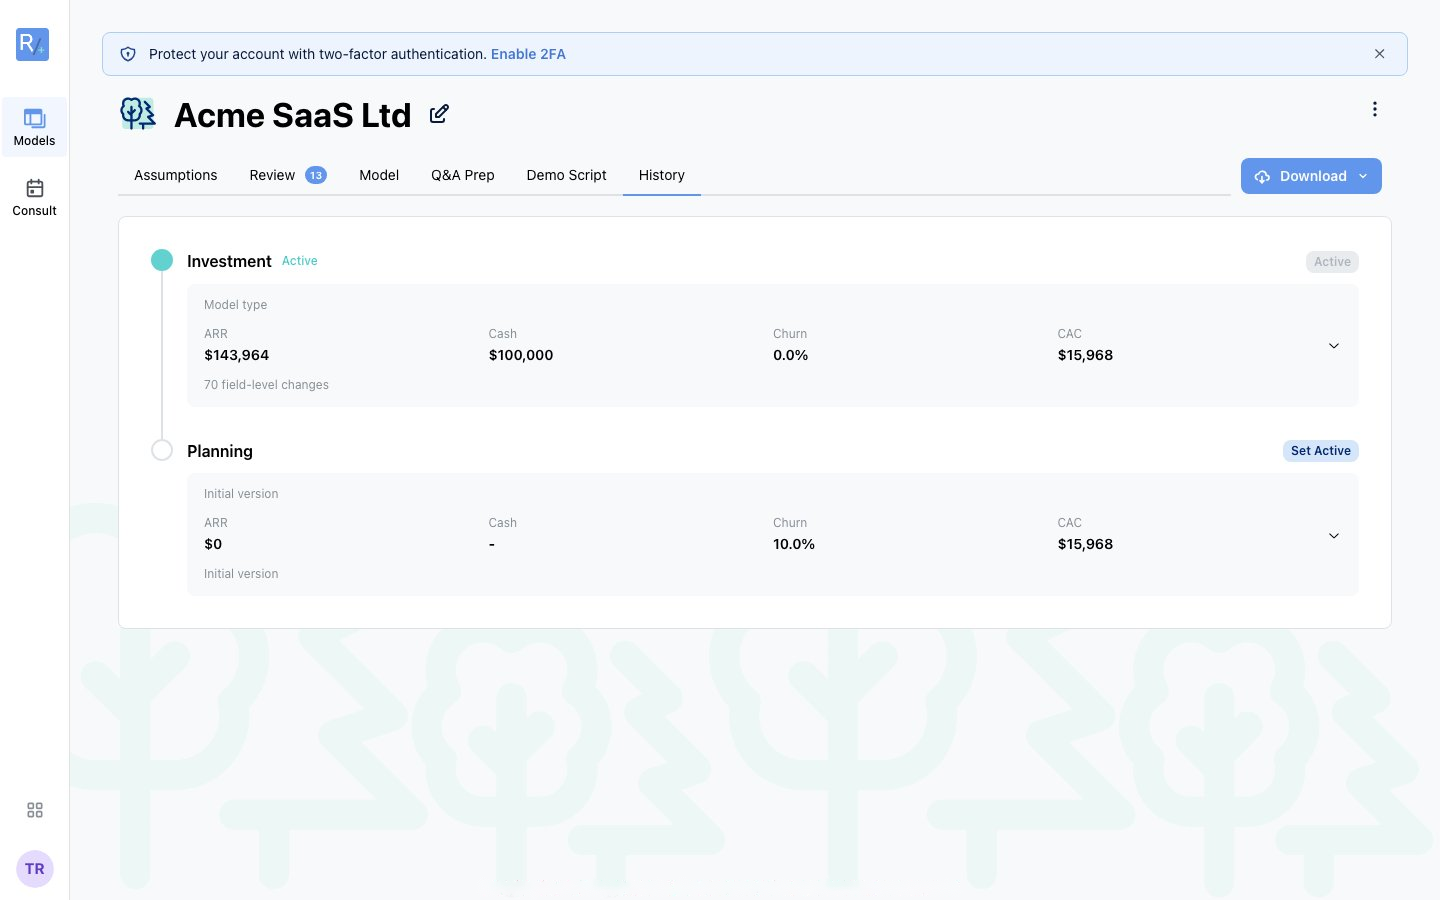 Figure 14: The History tab: every version with key metrics at a glance — click Set Active to restore an earlier one.
Every save creates a new version automatically — nothing is ever lost. The History tab lists all versions (newest first) with an Active badge on the one your model currently uses, key metrics at a glance (ARR, Cash, Churn, CAC), and a count of field-level changes. Expand any version to drill into exactly what changed.
Restoring a previous version:
- Open the History tab and find the version you want.
- Click Set Active and confirm in the dialog.
- Your inputs switch to that version's values and all outputs regenerate.
Switching is non-destructive: every version stays in History, so you can switch back again at any time. Note that downloads always reflect the active version — to export from a past version, set it active first.
Upgrading to the Investment Model
When you're preparing for investor meetings, or simply want monthly operational depth, Q&A Prep, Investor Memo, and Rehearsal, upgrade your Planning Model. Click Build Investment Model in the model header (or Continue to investment model at the checkpoint).
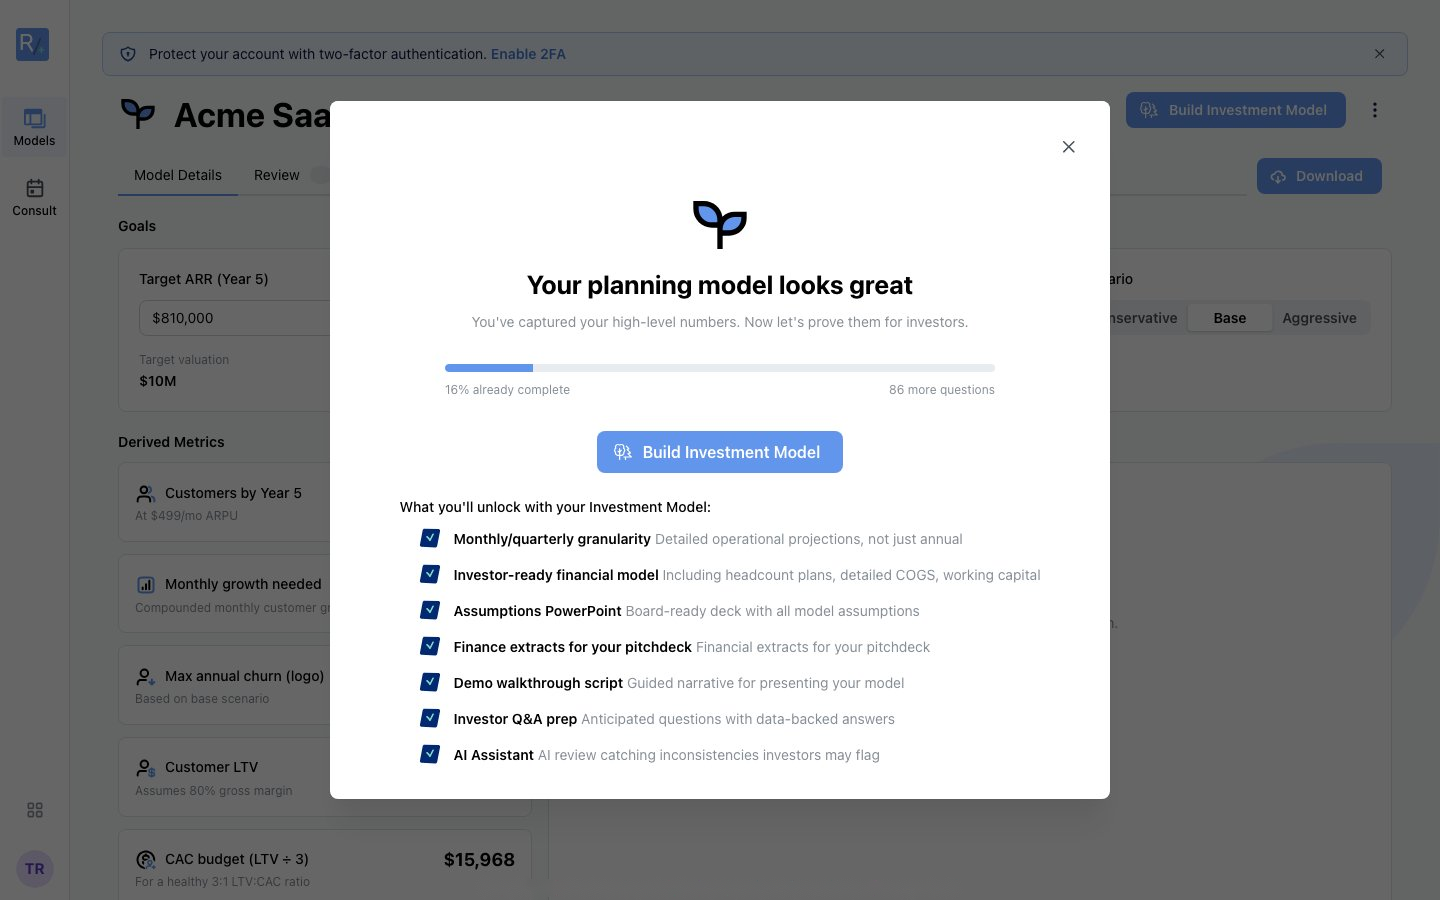 Figure 15: The upgrade modal shows your head start and everything an Investment Model unlocks.
Before the questionnaire begins, Radley summarises your Planning Model's review status. If open issues are worth fixing first, you'll see how many (you can fix them now or click Continue Anyway). For SaaS, the Investment wizard opens across six steps: Company & Setup, Product & Pricing, Customers & Growth, Team & Costs, Funding & Ownership, and Review & Submit. Other verticals re-run their wizard with answers pre-filled; the difference is deeper monthly outputs, not a wholly new questionnaire. Your Planning answers carry forward and appear with a Carried over badge. Verify they're still accurate as you go.
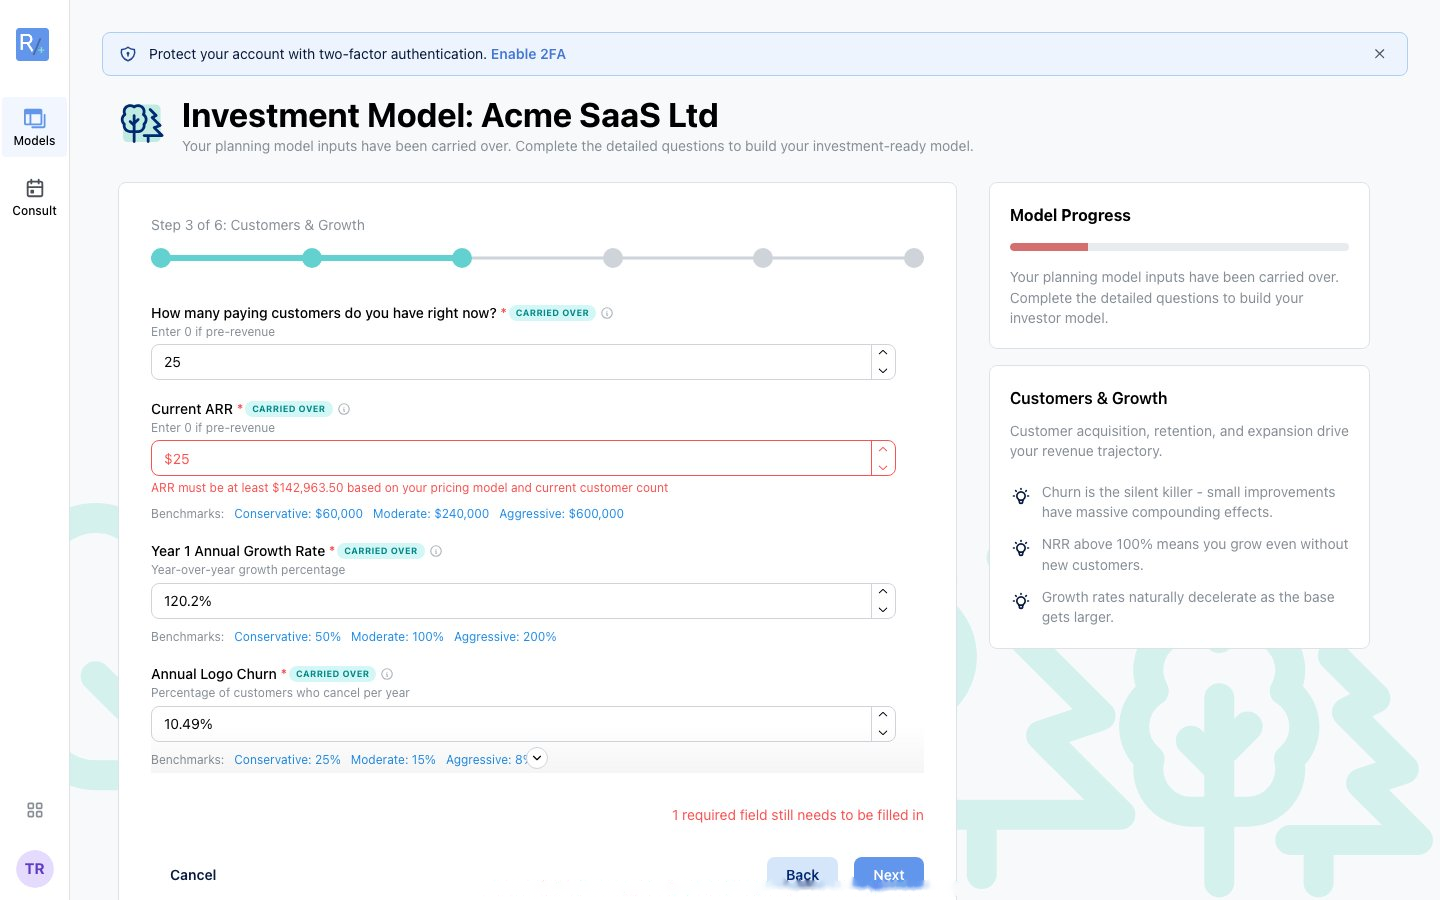 Figure 16: Carried-over values, benchmark hints under each field, and cross-validation that catches inconsistent inputs.
The Investment wizard works harder for you: benchmark hints under key fields show Conservative / Moderate / Aggressive reference points, and cross-validation catches inconsistencies between answers (for example, an ARR figure that can't be right given your pricing and customer count) before they reach your model. The Review & Submit step also reconciles your bottom-up inputs against your Planning goals, so you can see whether your detailed assumptions actually deliver the ARR you're targeting — before you build.
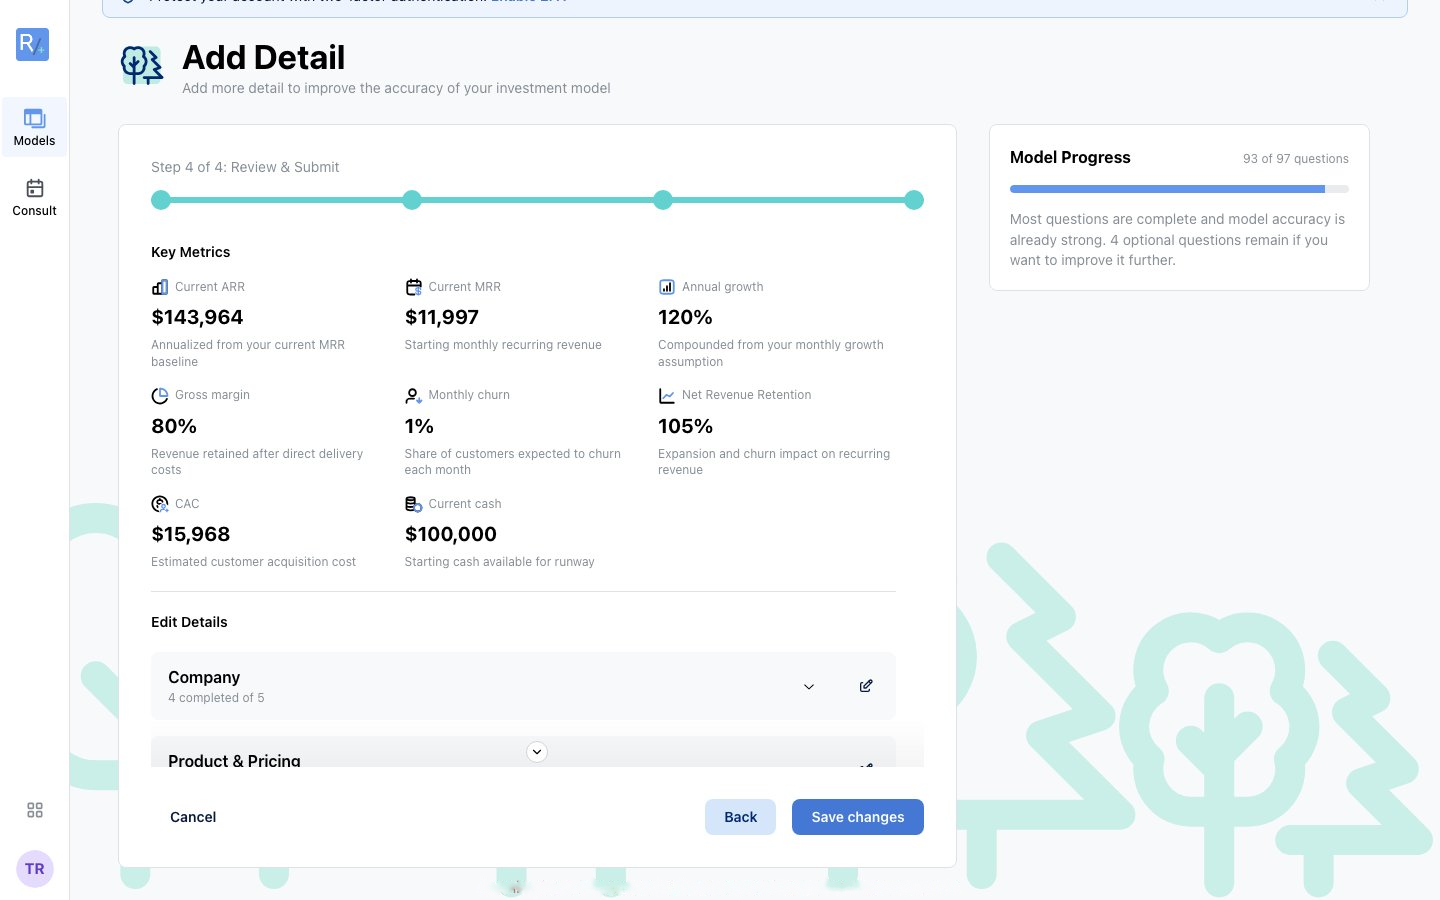 Figure 17: After building, the optional Add Detail flow sharpens accuracy — most questions are already covered.
Plan for roughly 20–30 minutes beyond the Planning Model. After building, you can optionally refine further through the Add Detail flow (Recommended, Enhanced, and Fine-tune question sets) — these are entirely optional; skip them and your model still works. Your model upgrades in place: the same model gains the new tabs, your goals stay attached for reconciliation, and earlier versions remain in History.
Tracking actuals with Xero
Forecasts are only half the story. Connecting Xero pulls your real P&L into the model so you can compare what actually happened against what you projected, turning your model into a living operating tool rather than a one-off pitch artefact.
In-model actuals tracking is rolling out. You can connect Xero from Settings > Integrations today; if Actuals or "Import from Xero" shows as coming soon for your account, contact support@radley.tax. When enabled, you'll need an Investment Model and permission to authorise connections in Xero.
Set up once
- Connect: go to Settings > Integrations and click Connect Xero (or open your model's Actuals tab and follow the prompt). Sign in to Xero and approve the requested reporting permissions.
- Select an organisation: if your Xero login has several, choose which supplies your data.
- Map your accounts: match each Xero account group to your model's categories (revenue, expenses, and so on). The sidebar counts mapped vs unmapped accounts, search and filters speed things up, and bulk editing lets you map many accounts at once. Mappings save per model.
Pull, save, and keep fresh
- Radley pulls a monthly preview of your mapped P&L actuals (default: the trailing 12 complete months — adjust the range to suit).
- Review the rows, then click Save actuals to store the dataset with your model.
- Actuals don't update by themselves — click Pull Latest after each month closes in Xero. The tab always shows when data was last synced.
Once set up, the Actuals tab shows your connection status, last sync, key metrics from your synced data (revenue, MRR, customers, gross margin, CAC), automatic data-quality flags for gaps or unmapped activity, and the forecast-vs-actual comparison. Saved actuals also feed the Budget vs Actuals view in your Excel export.
Tip: If the numbers look wrong, check your account mapping first — a misplaced account group is the most common cause. Fix the mapping, pull a fresh preview, and save again.