Part 3: Creating your first model
Starting a new model, importing existing data, completing the Planning questionnaire, and the build checkpoint.
Starting a new model
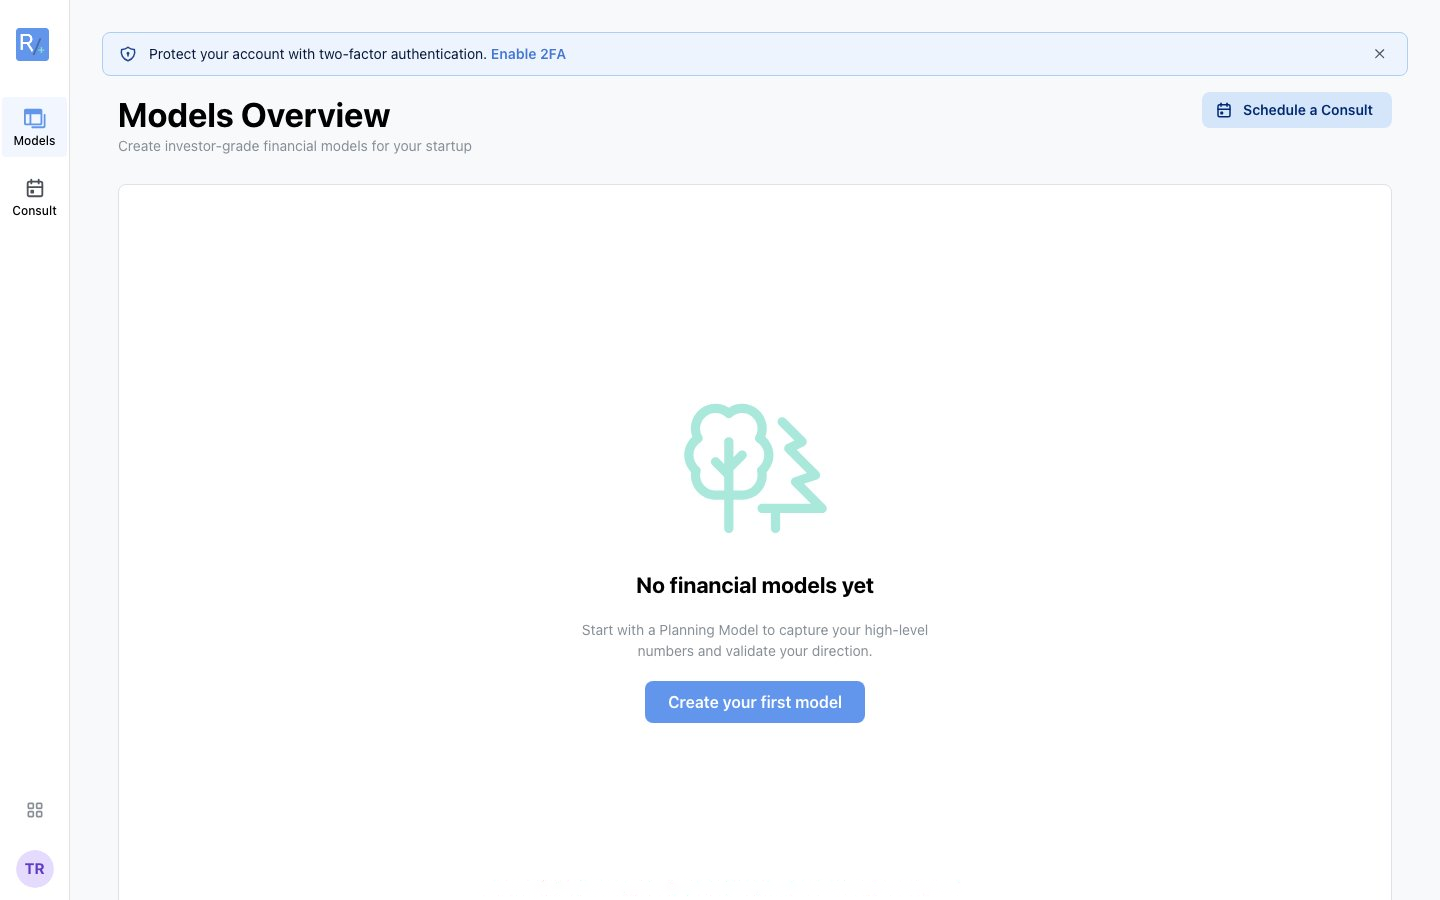 Figure 4: Your first visit to the Models Overview — click "Create your first model" to begin.
After login you land on the Models Overview, your home page. Click New Model (or "Create your first model" if your dashboard is empty). You'll choose your purpose (raise investment or allocate capital), your business type (SaaS, Marketplace, Hardware, Services, or Ecommerce), and how to start:
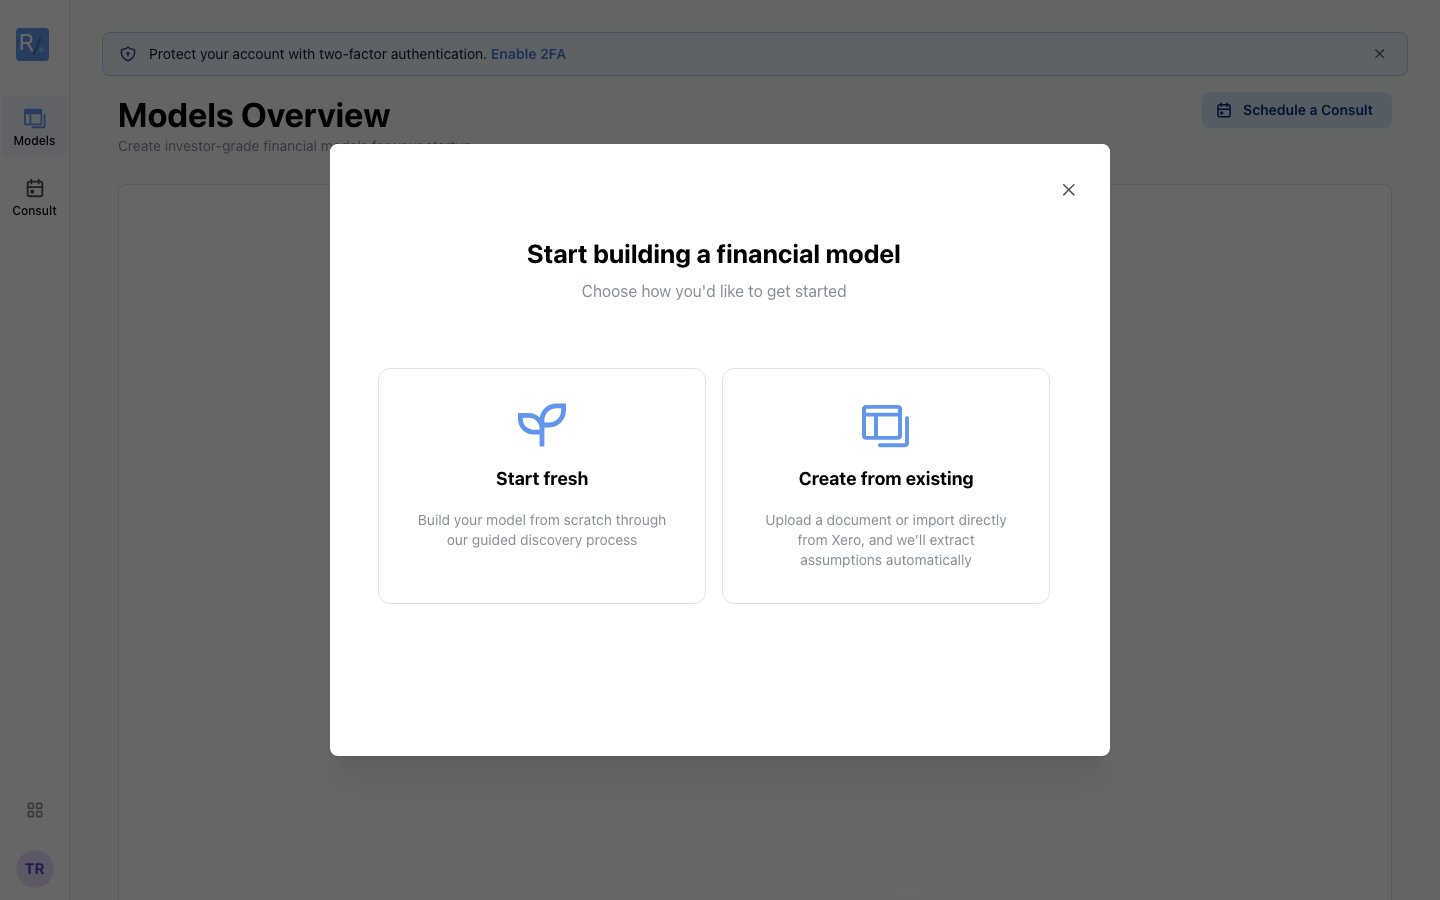 Figure 5: Start fresh with the guided process, or create from existing data.
- Guided wizard — build from scratch through discovery questions tailored to your business type.
- Describe your business — tell us what you sell in plain language and Radley extracts starter assumptions.
- Upload a document — import a spreadsheet, pitch deck, or financial plan and Radley extracts assumptions (see below).
- Import from Xero — if enabled for your account; otherwise it may show as coming soon.
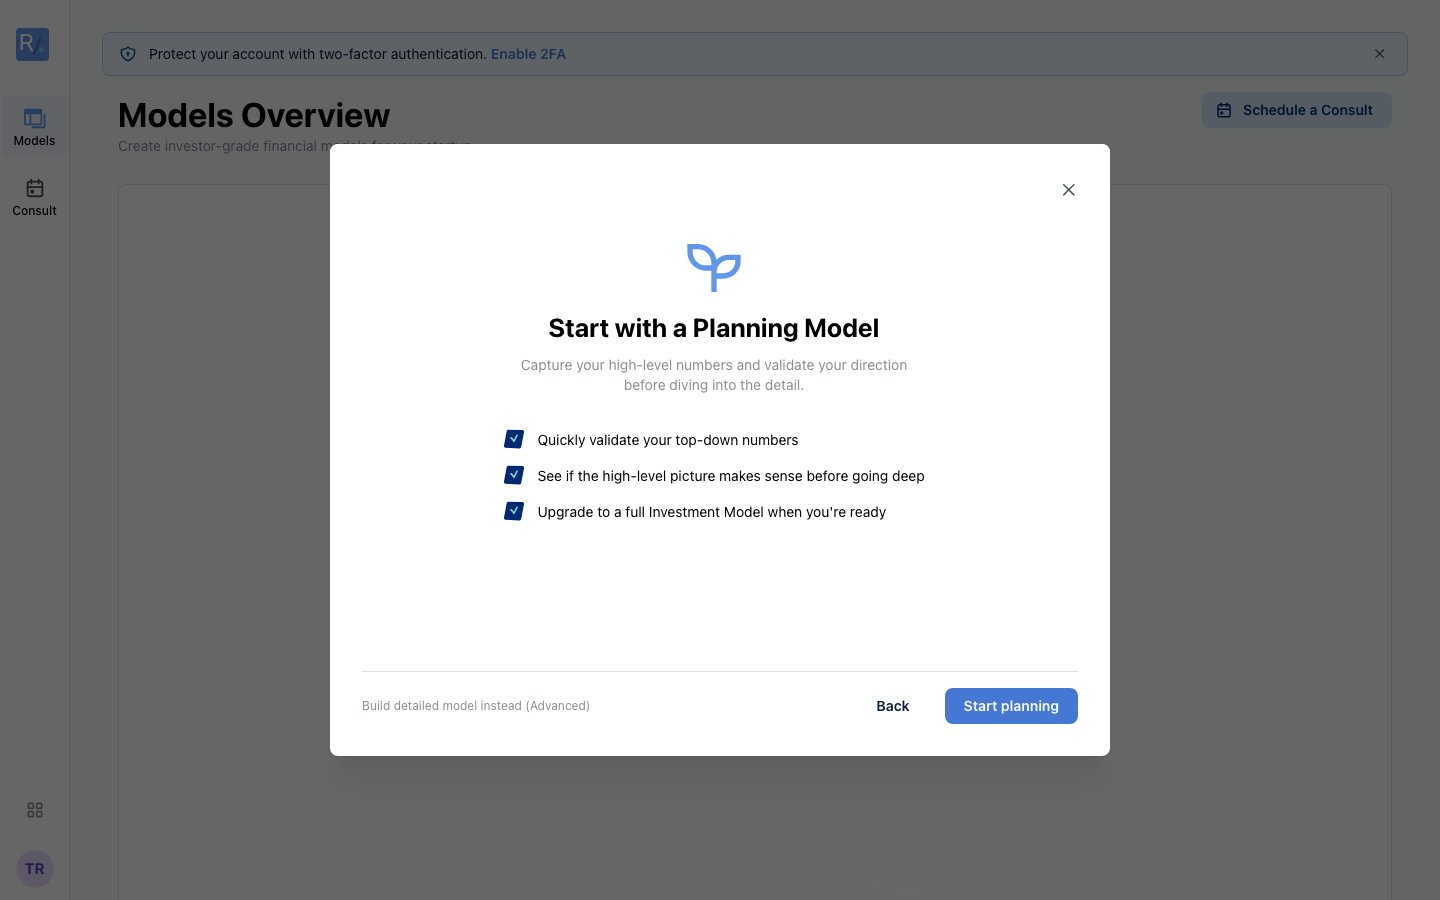 Figure 6: Everyone starts with a Planning Model. Experienced modellers can use the Advanced link to jump straight to a detailed build.
Either way, you'll start with the Planning Model. Click Start planning to begin. (Experienced modellers can instead click the small "Build detailed model instead (Advanced)" link for a classic bottom-up questionnaire, but most founders get better results starting with Planning.)
Tip: Your answers live in your browser until you click "Build Planning Model", so finish the wizard in one sitting — it only takes about 10 minutes. The app will warn you if you try to leave with unsaved answers.
Importing existing data
If you already have financial data, you don't have to retype it. Choose "Create from existing" and pick one of two paths:
Upload a document
Supported: .xlsx, .xls, .csv, .pdf, and .pptx files up to 20MB. Drag your file onto the dropzone and Radley parses it for candidate assumptions across revenue, pricing, customers, growth, churn, costs, headcount, funding, and timeline. The "Here's what we found" screen then shows each extracted assumption with its value, source, and a confidence indicator — edit anything that's off, remove what's irrelevant, then click Continue.
Import from Xero
If your company runs on Xero, connect it (Settings > Integrations), pick the organisation and a month range (it defaults to the trailing 12 complete months), and map your Xero accounts to the model's metric categories. Radley then calculates starter assumptions from your real actuals — current ARR, customer count, ARPU, gross margin, CAC, expense ratios, and MRR growth — and shows them on the same review screen.
On both paths, extracted values pre-fill matching questionnaire fields marked with an Imported badge. Everything stays fully editable, and nothing is final until you build the model.
Tip: For best extraction from spreadsheets, use clear headers ("Monthly Revenue", "Customer Count"), structured tables, and descriptive worksheet names. Avoid merged cells, data in images, and password-protected files. Only aggregate numbers are needed — don't upload personal customer data.
Completing the Planning questionnaire
Each business type has its own Planning wizard. SaaS uses four steps (below). Marketplace, Hardware, Services, and Ecommerce each have their own step sequence built around GMV, units, capacity, or orders. Questions sit in the centre; the Info Panel on the right gives contextual guidance for whatever you're answering; Back and Next sit at the bottom.
SaaS Step 1 of 4: Business details
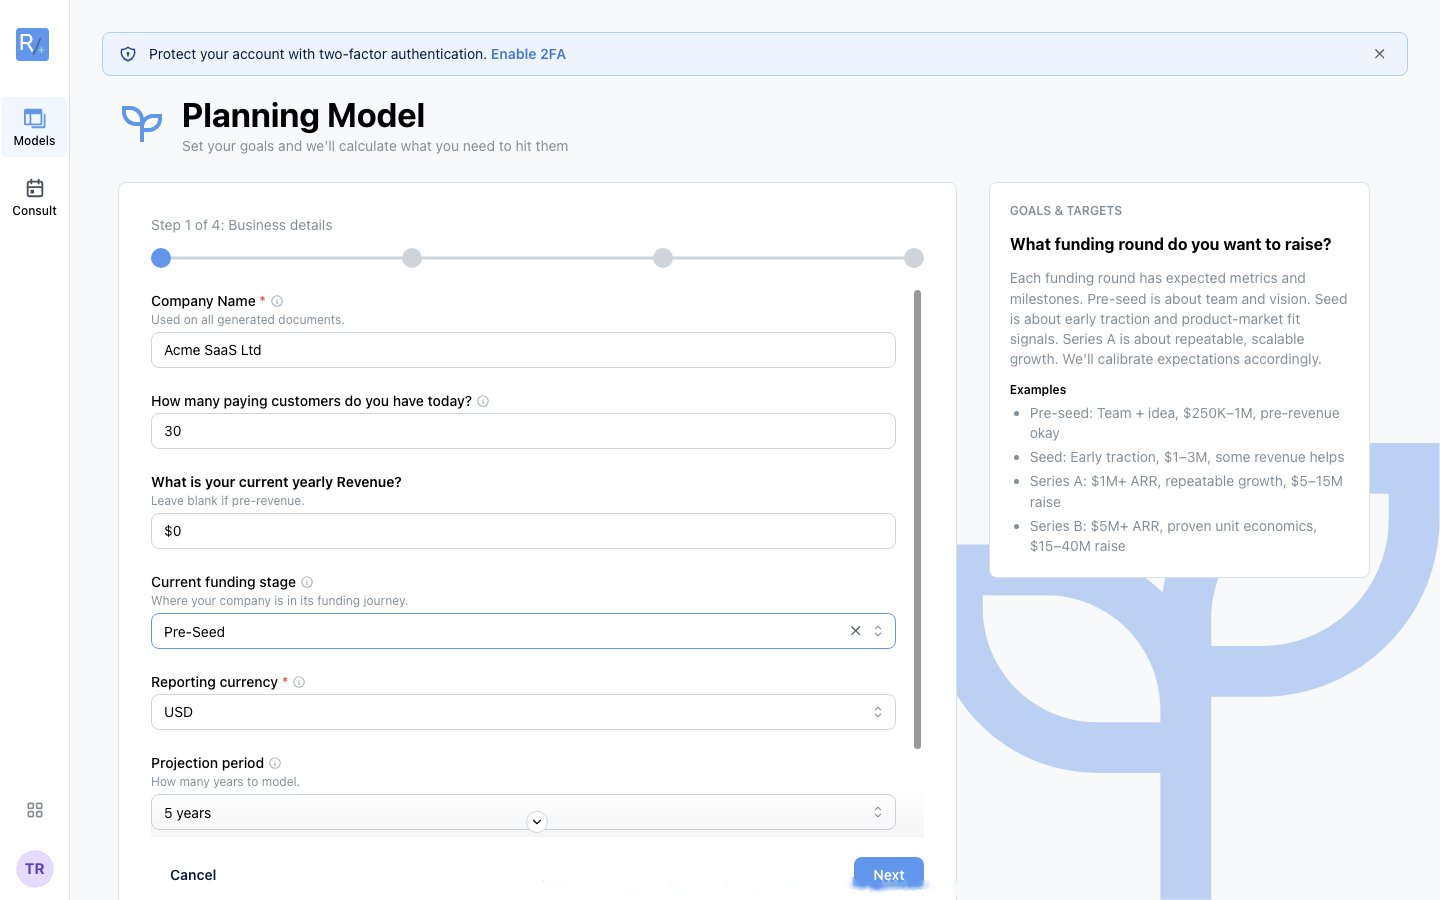 Figure 7: Step 1 captures where you are today; the Info Panel (right) explains funding-stage expectations.
Enter your paying customers today, current yearly revenue (enter 0 if pre-revenue — the model handles it), current funding stage, reporting currency, and projection period (3 or 5 years).
SaaS Step 2 of 4: Market sizing
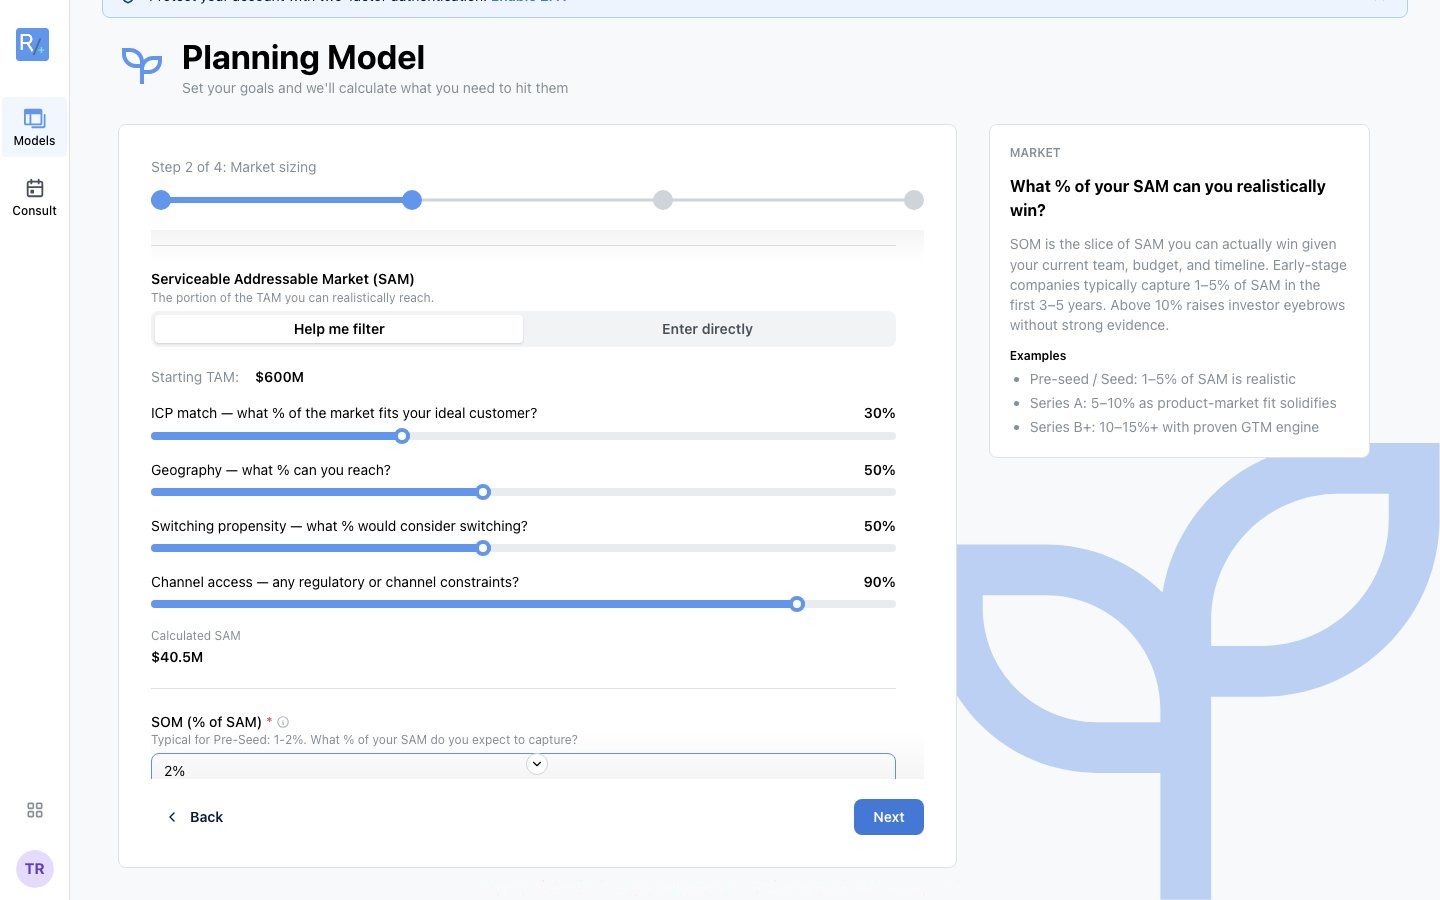 Figure 8: The "Help me filter" sliders narrow your TAM to a defensible SAM, then you set your target share (SOM).
Define your Total Addressable Market, then narrow it to your Serviceable Addressable Market — either enter it directly or use the guided sliders (ICP match, geography, switching propensity, channel access). Finally, set the share of SAM you're targeting (SOM %). Investors will ask where these numbers came from, so note your sources.
SaaS Step 3 of 4: Funding goals
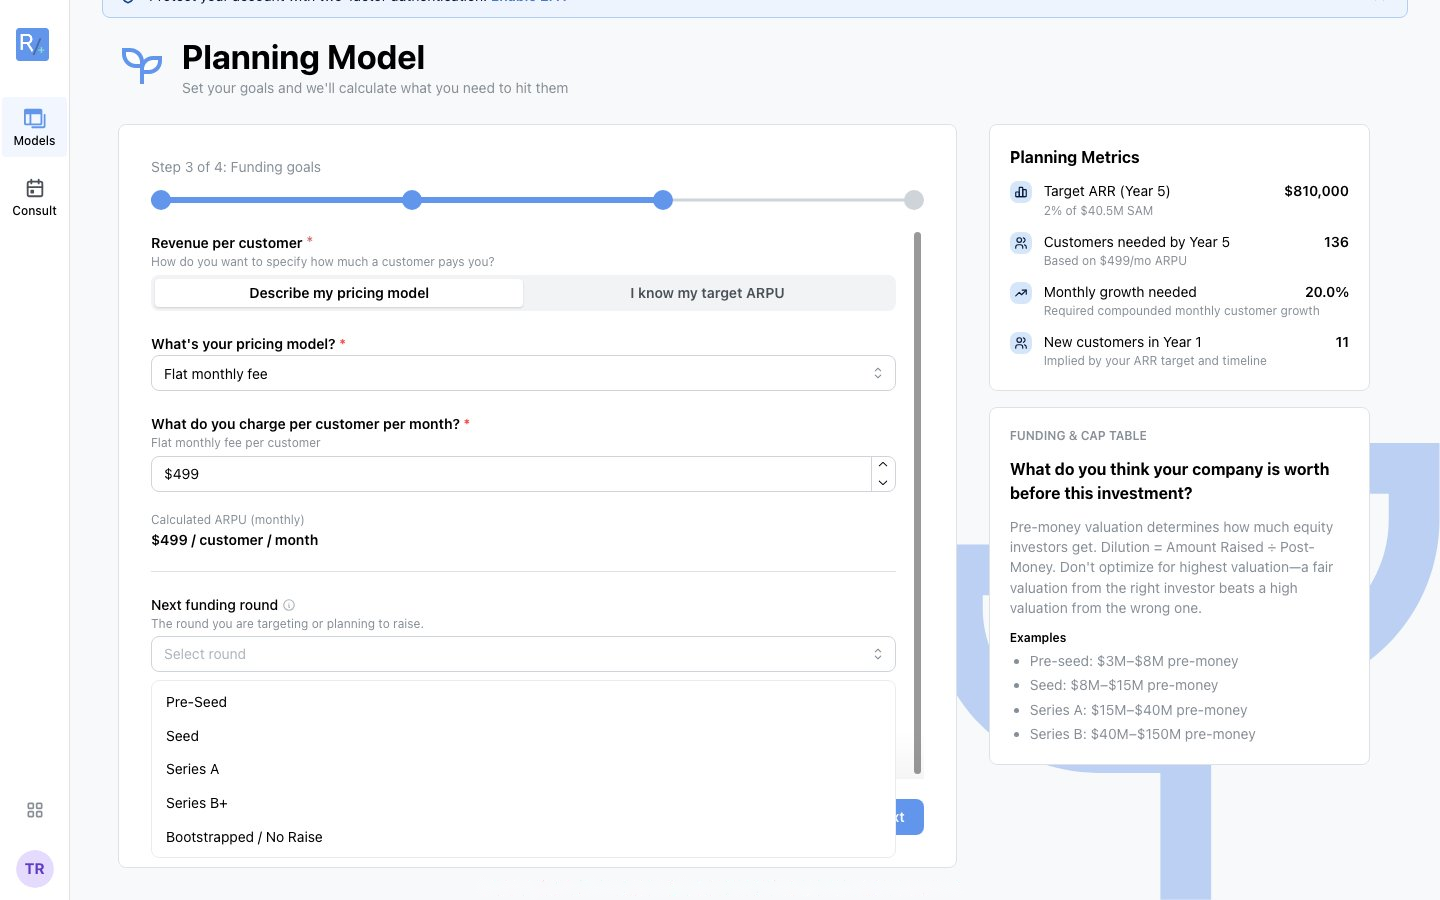 Figure 9: As you type, the live Planning Metrics panel shows what your goals imply.
Describe your pricing model (or enter a target ARPU directly), choose your next funding round, and optionally a target pre-money valuation. As you type, the live metrics panel on the right shows the targets your goals imply — customers needed, monthly growth required, and new customers in Year 1.
Validation
Required fields must be completed before you can proceed. If you click Next with gaps, the wizard tells you how many required fields remain and scrolls to the first one. Errors appear directly below the affected field.
Understanding the Info Panel
The Info Panel is your built-in financial advisor — like having a CFO looking over your shoulder. Hover over or click into any question and it explains, in plain English, what's being asked, why it matters to investors, and gives real-world examples to calibrate against. Between questions it shows a section overview with practical tips.
Separate from the panel, some fields carry a small badge showing where their value came from:
| Badge | Meaning |
|---|---|
| Imported | Extracted from your uploaded file or Xero import. |
| Carried over | Pre-filled from your Planning Model when building the Investment Model. |
| Benchmark | An industry-standard default — fine to keep, better to replace with your own number. |
Tip: If you're unsure of an answer, use your best estimate and keep moving. Everything is editable after the model is built, and the Review tab will flag anything that looks off.
Review, build, and the checkpoint
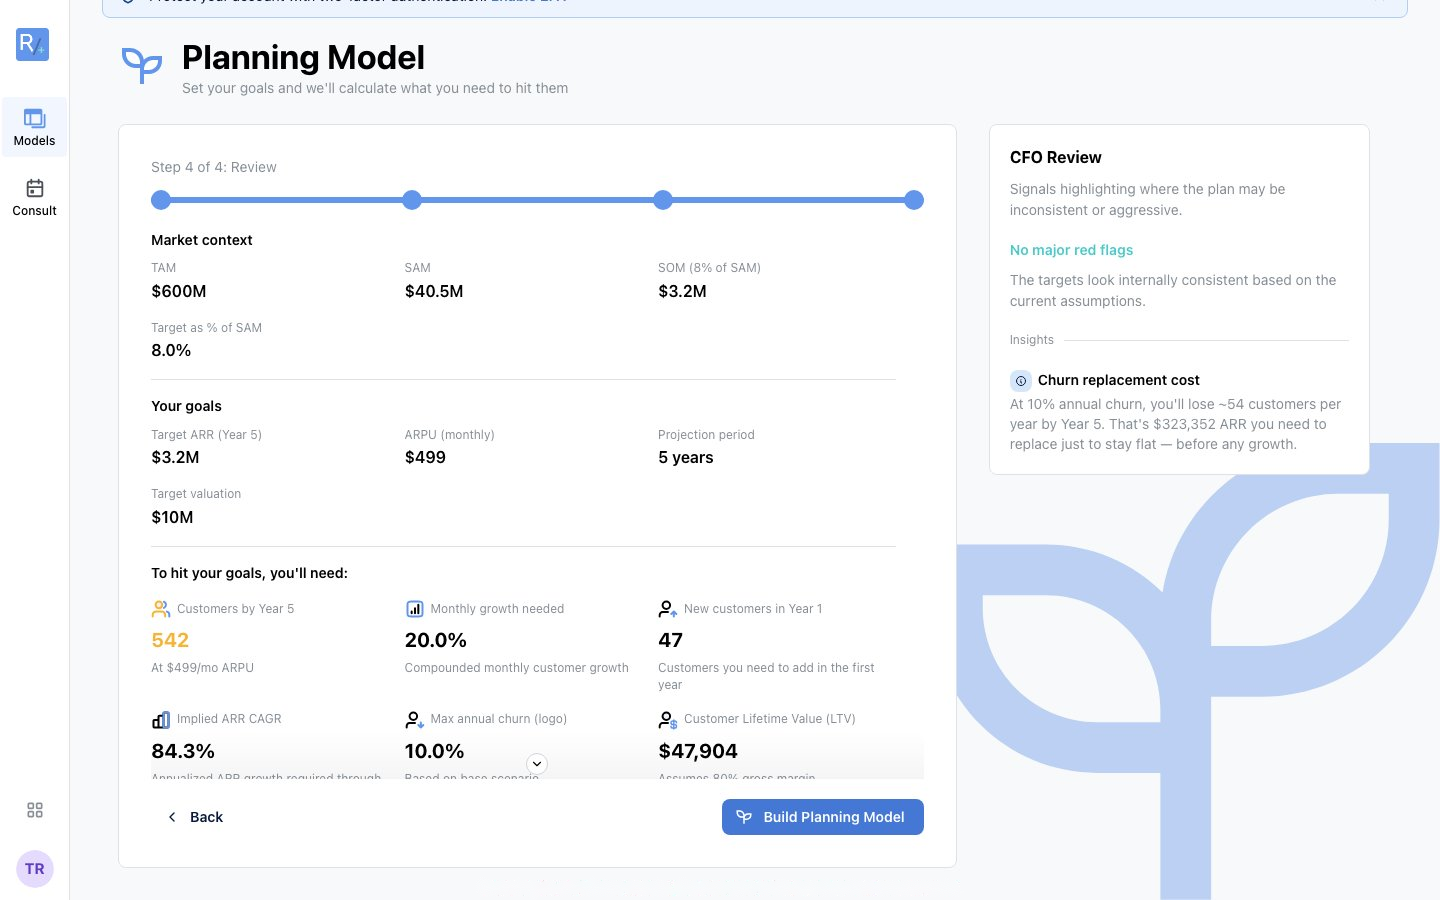 Figure 10: Step 4 summarises your goals and derived metrics; the CFO Review panel flags anything aggressive.
Step 4 of 4 summarises your market context, goals, and the derived metrics your goals imply — customers needed by Year 5, monthly growth required, maximum churn you can afford, implied LTV, and a healthy CAC budget. The CFO Review panel on the right gives plain-English commentary, flagging anything inconsistent or aggressive before you build. Click Back to adjust anything; when you're happy, click Build Planning Model.
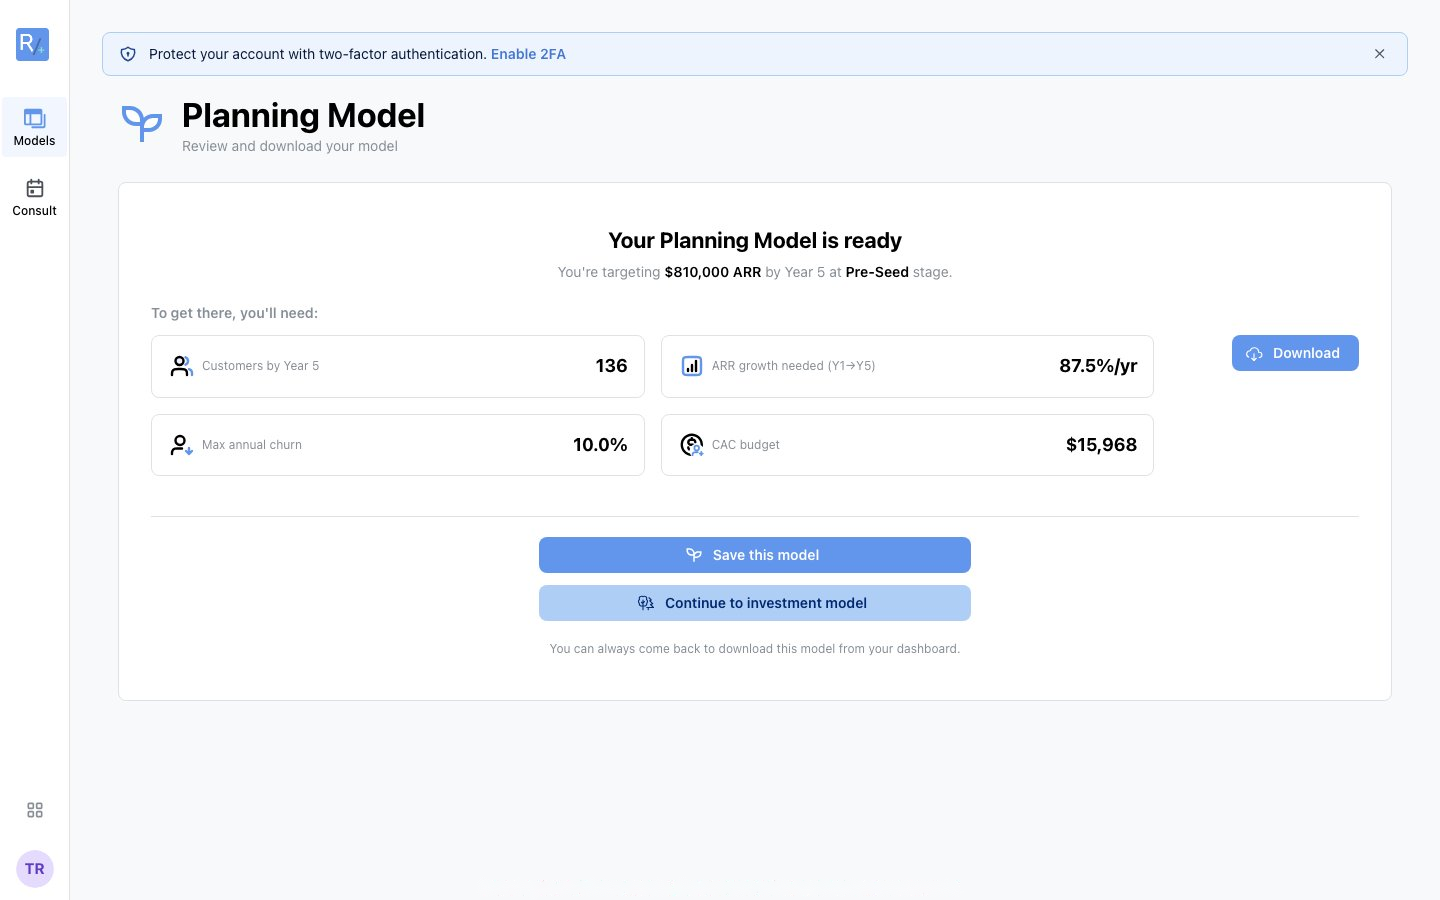 Figure 11: The checkpoint: download your Planning Model, save it for later, or continue to the Investment Model.
After building, you reach the checkpoint page — "Your Planning Model is ready". From here you have three options:
- Download — get your Planning Model Excel immediately.
- Save this model — go to your model's page and come back anytime; a Build Investment Model button will be waiting.
- Continue to investment model — start the detailed bottom-up build now. Every answer carries forward.
Congratulations — you've built your first financial model. Part 4 covers everything you can do with it.